
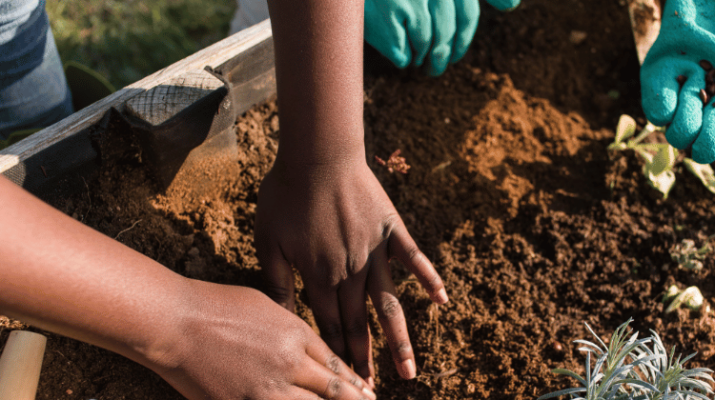
Whether you’re an educator or parent, teaching your kids about sustainable practices is never too late. Your plan can come in the form of vermiculture. Children will get to explore the makings of a worm farm with your help.
Teaching them worm farming reaps multiple benefits, such as waste reduction. Children will grasp the concept of recycling organic scraps and turning them into fertilizer.
Fortunately, the process is simple. With a worm farm kit in hand, all you have to do is guide and assist your child through the steps.
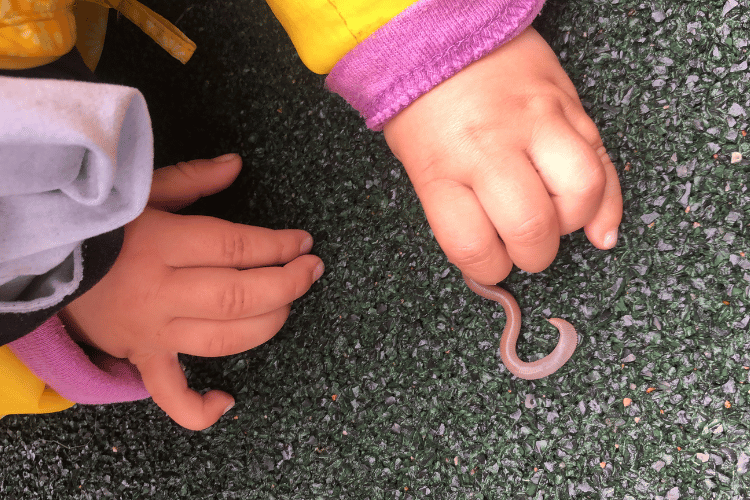
The little ones will enjoy a firsthand experience with wigglers. They get to witness their life cycle and eating habits. The project is an overall exceptional teaching opportunity.
Why Teach Worm Farming to Kids
The world of vermiculture can teach several lessons to your kids, such as caring for the environment and waste reduction.
Reducing Waste
Worm farming teaches your kids how to use eco-friendly methods for organic waste removal. You can educate your child about landfills and their dangerous environmental effects. Their release of methane gas heavily contributes to the earth’s carbon footprint.
Take this opportunity to teach the kids how the worms feed on organic waste. For older kids, you can detail the feeding process. Explain that worms have a lip-like extension that grabs the food scraps and moves them toward their throat.
The muscular pharynx coats the food with saliva and directs it to the crop for storage. Afterward, the waste travels to the worms’ gizzards to be broken apart, then to the digestive tract for further processing using specialized enzymes.
Tackling Sustainable Goals
Vermiculture is an exceptional addition to sustainable agriculture. The process involves transforming organic waste into nutritious worm castings and worm tea. It teaches your children the concept of turning something disposable or old into something new and usable.
You can tackle more sustainable topics by educating the kids on how growing your produce can reduce single-plastic use. You won’t have to visit the grocery store to purchase veggies or fruits since you can use your batch of worm castings to plant your own.
We suggest discussing the consequences of not caring for the environment. You can dive into the repercussions of carbon emissions on living things. They should understand the responsibility we hold to treat our planet right.

Academic Benefit
Besides sustainable goals and waste reduction, teaching your kids about worm farming enhances their vocabulary. They’ll learn new words, such as vermiculture, fertilizer, compost, earthworm, and organic waste.
Getting firsthand experience with a worm farm will cement their knowledge. You can approach agricultural topics, like fertilizer usage.
Alternatively, your little ones may be more inclined to science. In this case, you can educate them about the biology of a worm’s life cycle and how it breathes and feeds. In addition, allow the kids to learn about the types of worms you can use for vermiculture.
We recommend using activity ideas to set up a more enticing learning environment regarding some topics in vermiculture. For instance, they can go on a worm hunt in your backyard or draw worms and label their body parts, depending on their age.
Skill-Building
Building a worm farm with your kids can integrate several soft skills. It’ll teach them how to efficiently collaborate when communicating the worms’ needs to you or their peers. It also increases their autonomy and improves their independence when completing care tasks.
The process allows the kids to learn how to listen and ask questions or for directions. It enhances their explorative nature and embeds problem-solving and critical thinking skills.
Worm farming will also boost their observation skills as they investigate changes in their worm bins.
How to Set Up a Worm Farm with Kids
Whether searching for a composting activity or a sustainable method to remove kitchen scraps, worm farming is a viable solution. Teaching your kids how to build a worm farm will ingrain environmental awareness and much-needed skill sets.
Method #1: Worm Farm Box
For this vermiculture, you’ll use recycled Styrofoam vegetable boxes. Here’s how the worm composting method works.
Step #1: Prepare Your Materials
Begin by preparing all the necessary materials for the project. They include:
- Two Styrofoam boxes
- A sharp tool
- Compost worms
- Bedding (shredded paper, cardboard, newspaper, or straw)
- Organic waste (Egg shells, vegetable peels, tea bags, coffee grounds)
- Worm blanket
- Gloves
Step #2: Add the Bedding
After your ingredients are ready, use the sharp tool to poke holes at the bottom of the Styrofoam boxes. We recommend helping your child with this step to prevent injury.
Next, add the bedding of your choice. It can be shredded newspaper or cardboard. Ensure the material is soaked and wrung before adding it to your worm bin.
This could be an ideal teaching moment about how worms need a moist environment since they breathe through their wet skin.
Step #3: Add the Worms
Now comes the fun part, adding the worms. Allow your child to pick up handfuls of worms and disperse them evenly across the bin using gloved hands. As a rule, one pound of worms can fit every square foot of the container.
Step #4: Feed the Worms
After settling your wiggly guests, it’s time to feed them. One of the most common mistakes worm composters make is adding fresh kitchen scraps. Those will only attract more pests.
Instead, you can freeze the organic waste for 48 hours before giving it to the worms. You can feed them every two to three days. Afterward, lay a worm blanket over the bin to keep the area shaded and moist.
Lastly, let your child decorate the Styrofoam box to their liking. They can draw using permanent markers of varying colors.
Step #5: Extract Worm Wee
You can add this step to your worm farming activity for cultivating worm wee. Add another similarly sized Styrofoam box below the worm farm bin. The opening of the worm wee bin should be facing the holed bottom.
All the juices from the excess moisture and compost will gather in the bottom box. You can empty it in a gardening can. Keep the ratio at one part worm wee and 20 parts water. Use the solution as a plant fertilizer or natural pesticide.
Step #6: Extract Worm Castings
You can remove the worm castings by scooping them out of the bin. Alternatively, you can move the fresh fertilizer to one side of the container, and your child can add new bedding to the other.
The worms should wiggle out of their castings and into their fresher bedding within a few days. You can then sift through the castings with a mesh screen to break them apart and remove any remaining wigglers back to their bin.
Method #2: Worm Tower
Worm towers are like a mini-vermicompost farm your kids will enjoy making. It’s ideal if you have little space and is beneficial for your garden.
Step #1: Prepare Your Materials
Creating the worm tower will require a few materials, including:
- 24-inch PVC pipe
- Lid for the pipe
- Saw
- Drill machine
- Bedding (shredded newspaper, mulch, straw, etc.)
- Organic food scraps
- Red wiggler worms
Step #2: Create the Pipe
Cut off a 24-inch PVC pipe. Choose a width that would fit your garden landscape. Let your kids wash off the pipe.
Then, drill 5 mm holes around the lower 16 inches of your pipe. The top should remain hole-less. The punctures allow worms to move freely around and aerate the worm tower.
Now, hand it to your children and let them unleash their inner artist by coloring the pipe. You can use acrylic paint for a temporary design.
If you want the color to be more permanent, use markers or sample pots. You can go over the pipe with sandpaper. The rougher exterior will allow the paint to stick longer.
That said, the coloring step is essential to building your child’s ownership over the project. They need to bear some responsibility in their creation so you can foster agency.
Step #3: Dig a Hole
Once your kids’ artistic composting creations are complete and dried, it’s time to dig a hole. Ensure the hole is deep enough to keep an eight-inch portion exposed above soil level. Place the pipe in and let the children backfill the site.
Step #4: Add Bedding and Worms
Fill the pipe with the bedding of your choice. It can be sugar cane mulch, shredded cardboard, or straw. Next, let your children add the worms to the pipe. Remind them to spritz the hold every two days to keep the composting region damp.
Next, add another layer of bedding before incorporating the organic waste. Avoid dairy products and meats. Lastly, close the pipe with the lid to keep it dark.
Final Thoughts
Allowing your kids to participate in worm farming will offer multiple benefits. Not only will they learn the biological aspects of earthworms and their composting habits, but the sustainable implications the practice carries.
The project will integrate collaboration, problem-solving, and critical thinking skills. Overall, the vermicomposting project will create memorable moments and vital lessons for the kids.