
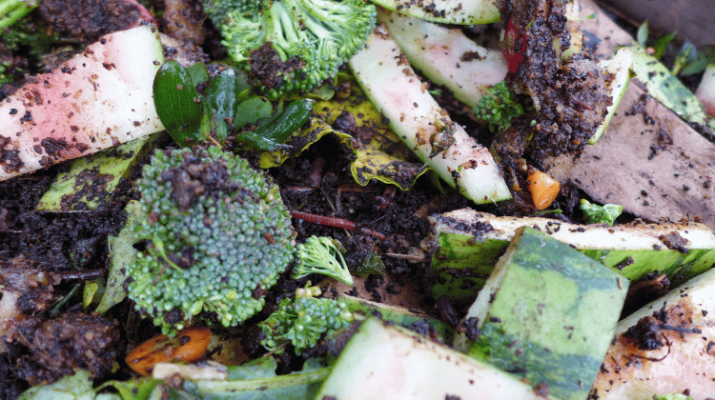
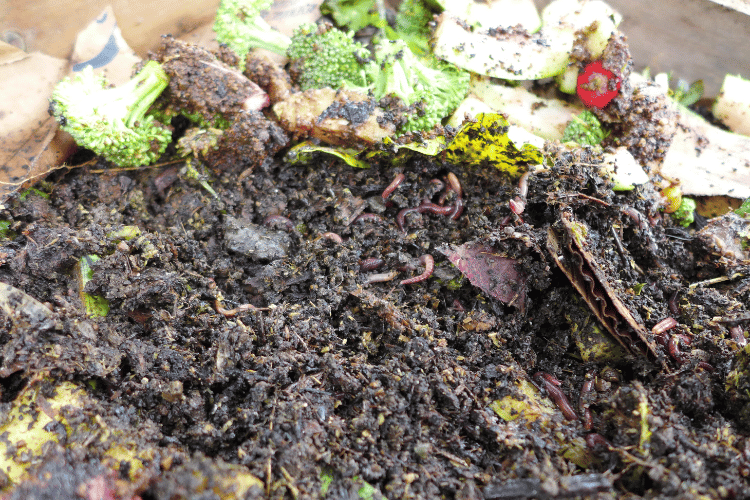
Cultivating earthworms in a worm bin is a sustainable way to transform kitchen scraps, food waste, and other organic materials into nutrient-rich compost. The process is also known as vermiculture, where earthworms consume and break down the organic wastes in the bin and excrete vermicompost.
Given the moist and humid environment in the worm bin, it’s not unusual to have other creepy crawlies like mites intrude. Apart from the moisture, mites are also attracted to decaying materials like worm carcasses.
That said, the presence of mites in worm bins can be helpful to speed up the decomposition process and harness vermicompost. However, increasing mite populations can be problematic, especially for the worms.
Learn the reasons for mite infestations, how to prevent them, and some techniques to promote a healthy and balanced environment in your worm bin.
Why Do I Have Mites in My Worm Bins?
Mites are microscopic animals from the Arachnid class, which is a close relative to spiders and ticks. They’re slow-moving arthropods that thrive in the soil, so seeing them in your worm bin is no surprise.
Meanwhile, several factors encourage mites to migrate to your worm bin. One of the most likely causes is too much moisture. Additionally, mites also migrate in worm bins in their quest for food.
Conditions That Encourage Mite Population Growth in Worm Bins
Let’s look into the several factors that encourage mite population growth in worm bins:
- Excess Moisture and Humidity
Mites are especially drawn to damp environments with high humidity levels. In fact, it’s one of the major contributing factors that allow them to reproduce rapidly.
Since mites don’t consume water like other animals, they source moisture and water from their surroundings, so they thrive best in moisture-rich surroundings.
Mites absorb water in their system through the specialized glands in their legs. These glands produce secretions that act as vapor-absorbing sponges.
- Using Contaminated Bedding or Organic Matter
Did you know you can introduce mites to your worm bin using contaminated beddings like old newspapers? Moist newspapers are a common breeding ground for these tiny creatures.
Aside from mite-infested beddings, you may also introduce mites to your bin through infested fruit scraps or wet food wastes.
- Acidic Worm Bin Environment
When the pH of the worm bin becomes too low, it attracts mites. Ideally, a moist, acidic environment is the perfect breeding ground for mites.
That said, there are two primary reasons why your worm bin becomes too acidic.
First, adding too much low-pH food waste, such as the following:
- Protein-rich food
- Citrus fruit scraps like lemon peels
- Sugar-rich food
- Milk and dairy products
The second reason your worm bin becomes too acidic is overfeeding, where organic matter decomposes and causes ammonia levels to spike.
The excess organic matter or food your worms can’t consume will start to decay, producing a by-product called ammonia. Too much ammonia makes an acidic environment favorable for mites to thrive.
- Dead Worms
Mites usually feed on decaying materials or dead worms. So once your worms start to die out, it’s only normal to find lots of mites feasting on their carcasses.
Also, your worms die out quickly due to varying moisture levels or temperature fluctuations.
Are Mites in Worm Bins Bad?
Like earthworms, mites help degrade organic matter into nutritious compost that promotes healthy plant growth. That’s why seeing a few in your worm bin is not unusual, so there’s no reason to freak out.
While a few mites can cause no harm, mite populations that grow at an alarming rate constitute a significant problem you shouldn’t overlook. When such a phenomenon happens, it’s advisable to adjust your care.
Meanwhile, check out the benefits and downsides of having mites in your worm bin.
Advantages
While the presence of mites on your worm can signal bad news, it’s not always the case. In fact, mites can give several benefits:
- Help Speed up the Composting Process
Interestingly, mites are excellent composters. They love to feast on decaying organic matter, moist food products, and dead worms. In return, they excrete nutrient-rich castings.
- Control Pests, Bacteria, and Fungi
Did you know some mites feed on bacteria and fungi that can harm your worms if uncontrolled? Predatory mites also devour other organisms that may intrude on your bin, like fruit fly eggs or larvae.
Disadvantages
More mites don’t equate to more benefits. Here are some drawbacks of having mite infestations in your worm bin:
- Deprives Worms of Nutrients
Too many mites in your worm bin can compete with food consumption, leaving your worms malnourished and stressed.
- Predaceous Mites Can Weaken Healthy Worms
While predatory mites can help minimize pests in your bin, they’re not as friendly to your worms too.
Predatory mites may feed on live worms and their eggs, which as a result, causes a decline in the earthworm population.
- Causes Worm Stress
Excess mite populations cause your worms to be stressed; thus, their health rapidly declines, causing them to die out eventually.
Here are some signs that indicate your worms are in distress:
- Worms are climbing up the sides of the bin, trying to escape
- More worm deaths
- Decreased worm activity
- Worms remain burrowed in the lower areas of the bin
- Worms form a ball or clump together
Types of Mites Found in Worm Bins
Mites usually settle around the bin’s edges, on the surface, or around bits of organic matter. Three types of mites commonly found in worm bins are red, white, and brown.
Red Mites
Red mites are predaceous and can cause your earthworm population to decline once uncontrolled.
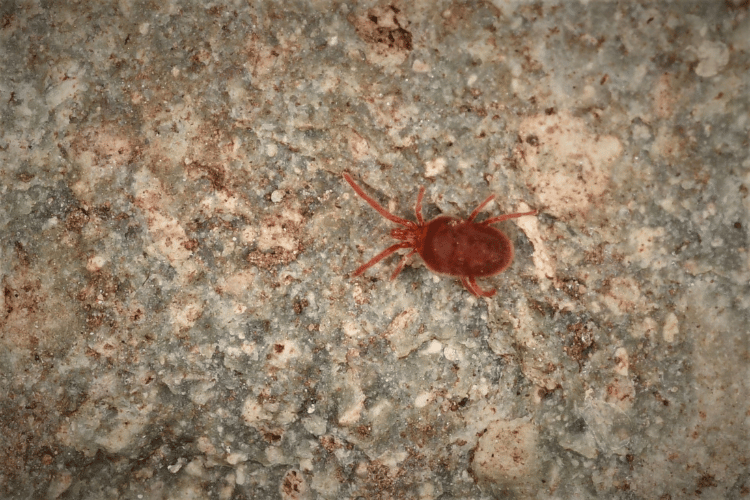
These bright red mites have eight legs and are usually larger than white or brown mites, not to mention that they’re notorious for devouring both adult worms and eggs.
Due to their parasitic nature, red mites feed on live worms’ blood and penetrate worm eggs.
Given that fact, it’s essential to identify red mites during their early stage of life to stop them from progressing to infestation. Young red mites appear as whitish clusters, almost resembling mold growth. Using a magnifying tool, you’ll find young tiny red mites huddled together. It’s best to remove these immediately.
White Mites
White mites feed mainly on decaying material, and dead worms are one of their ultimate favorites. Additionally, they also love fleshy stuff like watermelon and cantaloupe scraps.
Their presence in your worm bin is a telltale sign of high moisture levels.
Brown Mites
Like white mites, brown mites are non-predaceous and only feed on the organic wastes in the worm bin.
Other Organisms That You May Find in Your Worm Bin
Aside from mites, you may also find creatures like sow bugs, slugs, and millipedes in your worm bin.
Since a worm bin is moist, humid, and rich in organic matter that many creepy crawlies love to feast on, it’s not uncommon to get visitors from time to time. Meanwhile, here are other organisms you may find in your worm bins:
- Pill bugs
- Pot worms
- Centipedes
- Springtails
In addition to tiny insects and bugs, microbes like bacteria and mold are also permanent residents in your bin.
In moderate amounts, these organisms can provide additional health benefits to your worms and to the entire bin ecosystem. Bacteria, for example, help degrade organic compounds.
Sometimes, these intruders signal you to adjust moisture levels or lessen your feed. For example, too much mold growth may indicate that you’re overfeeding.
How to Prevent Mite Infestations in Worm Bins
Proper care helps keep mite populations at a minimum. On top of that, it’s vital to prevent the problem before it progresses to uncontrolled infestations.
Here are some methods to help keep mite infestations at bay:
- Keep Moisture Levels Substantial
The ideal moisture content for worm bins should be between 50 and 60%, with some sources saying up to 85%. Do a quick hand squeeze test to estimate the moist condition of your worm bin. Follow these simple steps:
- Take a handful of compost from the worm bin; make sure that it’s free from earthworms
- Squeeze it tightly
- Check for moisture or water droplets
Usually, a damp compost and a few droplets of water indicate that the compost is moist enough. On the other hand, a stream of water coming out of a hand-squeezed compost means too much moisture.
You can also use a moisture meter for accurate measurements.
Note that increased moisture doesn’t just attract mites, but they are detrimental to your worms’ health as well.
Notice how often we see earthworms on the soil surface after periods of heavy rain. This phenomenon happens because too much water can kill the worms.

- Keep Temperatures at Optimal Levels
According to North Carolina State University, worm bins should be maintained at 55 to 80°F. During cold months, it’s essential to provide insulation to maintain healthy temperature levels.
- Avoid Overfeeding
Feeding your worms at least once or twice a week is enough. In fact, a well-established worm bin may not need food often.
Ideally, worms can consume food that’s thrice their weight weekly. Therefore, a pound of worms can consume around 3 pounds of food per week. It would be best to monitor the bin and adjust feeding accordingly.
On the other hand, here are other signs of overfeeding aside from mite infestations:
- Foul odors: Putting too many food scraps for your earthworms to consume can cause an unpleasant or rotten odor that attracts unwelcomed guests like flies. Remember that a healthy worm bin has an earthy smell.
- Acidic pH: Low pH levels result from the decomposition of organic matter that your worms failed to consume. In return, an acidic environment causes your worms to be stressed and eventually die.
- Wet conditions and mold growth: Overfeeding your worms with wet food scraps and organic wastes encourages mold buildup.
- Maintain a Slightly Acidic pH Level
Keep pH levels in worm bins at 6.5. It’s also best to avoid including acidic compounds and low-pH food scraps in your worms’ diet to keep them in good shape and prevent pesky mites.
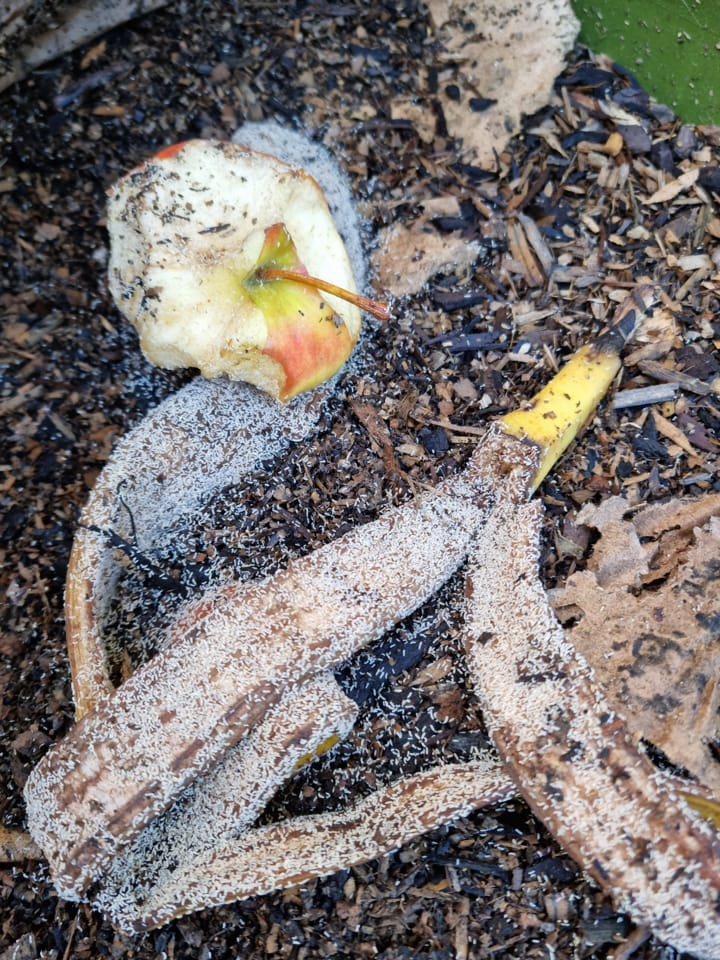
- Avoid Wet or Fleshy Food Scraps
Cantaloupe or watermelon rinds and moist fruit scraps are divine to mites. It’s best to avoid adding them to your bin to keep these pesky creatures out.
How to Remove Mites in Your Worm Bins
Mites usually settle at the surface or around the edges of your worm bins, so removing them isn’t that tough. You can use a combination of these methods or repeatedly do them until the mites are out of sight:
Method 1
You can physically remove mites by scraping affected areas off and burying them somewhere else. The only downside of this method is that you waste some precious compost.
Method 2
Remove food scraps, uncover the worm bin, and expose it to sunlight for a few hours.
Method 3
Leave a piece of bread, moistened newspaper, or cantaloupe rind (or watermelon) on the bin’s surface overnight.
Since mites love these, they’ll most likely swarm around and feast on them. Make sure to remove and discard them in the morning.
Method 4
Lastly, you can use a propane torch to kill the mites on the surface of the bin.
Disclaimer: it’s important to note that effective mite control goes back to proper care and maintenance of your worm bins, and mite removal can only serve as a temporary remedy.
Tips and Techniques to Promote a Healthy and Balanced Environment in Worm Bins
In addition to primary care methods, here are other tips and techniques to keep your worm bins healthy and free from intruders:
- Ensure proper air circulation inside the bins by putting small air holes or using nets to help bugs out while promoting good airflow.
- Add powdered egg shells to help maintain pH levels.
- Keep your bins away from direct sunlight.
- Avoid using colored or dyed paper and wax paper as bedding material.
- To feed your worms, cut food scraps into tiny bits and bury them in the bin.
- Avoid feeding your worms with bones and oily food.
Conclusion
Mites in worm bins can be beneficial in vermicomposting since mites are effective decomposers. However, uncontrolled mite populations can compromise your worms’ health or cause them to die.
Excess moisture is one of the root causes of mite infestations. Therefore, one way to prevent mite infestations is by tracking your worm bin’s moisture content and pH level.
Keep moisture levels at around 60% and pH slightly acidic to prevent mites while maintaining a moist environment healthy enough for your worms to thrive.