
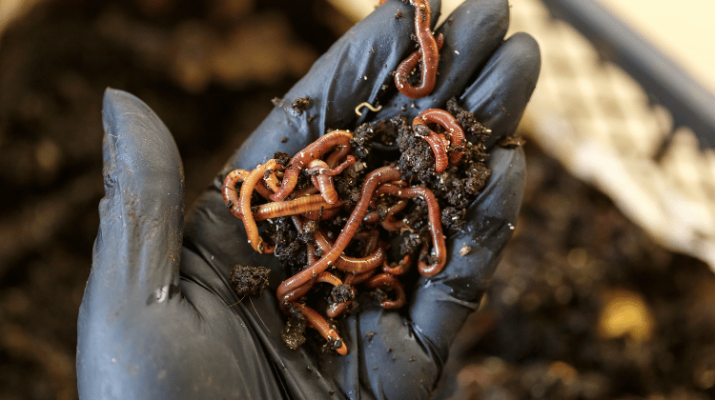
Nightcrawlers are highly beneficial worms. They provide aeration to the soil, which allows oxygen and water to penetrate the soil easily. Not only that, but these worms are also good bait when it comes to fishing.
Generally, nightcrawlers are earthworms. They come out at night to feed on decaying organic matter.
So, how to start a nightcrawler worm farm? And is it worth it?
In today’s article, we’ll tell you everything you need to know about starting your nightcrawler farm. Let’s jump into the details right away.
Types of Nightcrawler Worms
Before we tell you how to start a nightcrawler farm, you should choose the type of worm you want to raise. There are different types of nightcrawlers. Here are some of them:
- European nightcrawlers, or Eisenia hortensis
- Canadian nightcrawlers, also known as Lumbricus terrestris
- African nightcrawlers, or Eudrilus eugeniae
Many prefer European nightcrawlers for worm farms. That’s because they tolerate a wide range of conditions and temperatures. In addition, they reproduce and grow faster.
Moreover, Canadian ones are large, which makes them good live bait for fishing. As for the African worms, we typically use them for composting.
How to Start a Nightcrawler Worm Farm
Starting a nightcrawler worm farm isn’t complicated. To start, you’ll need to assemble a few basic supplies and choose a location for the farm.
Ideally, select a location where you can keep the temperature around 60 °F. Don’t worry about the smell, as it’ll be minimal. Generally, starting the farm in your basement is a good idea.
Supplies and Materials You’ll Need
Here are the supplies and materials you’ll need to start your farm:
- A suitable container (at least 2 ft by 3 ft and 10 inches deep)
- Soil
- Organic scraps
- Peat moss
- Spray bottle filled with water
- Thermometer and pH meter
- A drill bit
- Gloves
Step 1: Prepare the Containers
The first thing you need to do is prepare the worm bin to house your nightcrawlers. Ideally, the container should be at least 2 ft by 3 ft and 10 inches deep. In addition, it’s best if you pick a dark-colored bin.
We use peat moss as bedding for the worms. The peat moss should be around 8 inches deep, and it should be a little moist.
It’s crucial to drill small holes in the sides of the container. That allows oxygen and moisture to reach your little friends. Many recommend drilling holes at the bottom of the container to allow extra water to seep out.
However, make sure that the holes aren’t big. Furthermore, it’s best not to leave the container directly on the ground. You can use four bricks to act as stilts that raise the worm bed bin off the ground.
You can also use newspaper as bedding for the worms. To do so, cut the newspaper into thin strips, and soak them in lukewarm water for one day. Then, squeeze the excess water from the strips and place them in the bottom of the bin.
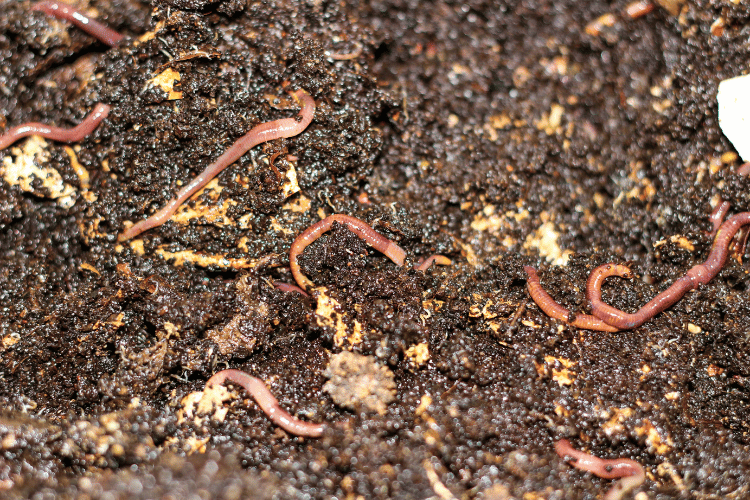
Step 2: Add Soil to the Containers
After setting up the bins, you can add the soil. Add around two to four cups of soil and spread them over the bedding.
Many people prefer adding vegetable scraps and previously composted cow manure. It’s essential to only add composted manure, as green manure can get too hot and harm your worms.
Further, you must ensure that any grass clippings you add aren’t treated with a pesticide. You should also compost them first before adding them to the container.
After that, moisten the soil lightly using the spray bottle. Then, test the pH of the soil. Ideally, the pH should be around 7.
If the pH is low, you can raise it by adding a small amount of baking soda. On the other hand, apple cider vinegar can lower the pH.
Step 3: Add the Worms
Add the first patch of worms to the bin. It’s best not to add a lot of worms. That’s because nightcrawlers reproduce quickly.
The amount of worms you should add depends on many factors, like their size and how big the container is. Around half a pound of worms is a good start for a medium container, while you can add up to 10 pounds in bigger containers.
Keep in mind that each worm is likely to lay one or two egg capsules per week. Each egg capsule will hatch out around 4 to 20 worms.
Overall, you shouldn’t add more than 10 pounds of nightcrawlers per bin.
Feeding Nightcrawler Worms
After adding the worms to the bin, you don’t need to leave them food. Many recommend leaving the worms for around three days in the bin to adapt to them before feeding them.
Then, you can add vegetable scraps. That includes potato peelings, lettuce leaves, and grass clippings.
It’s important to not overfeed your worms. So, add fresh food only when the old meal is mostly gone or when worms appear on the surface.
Additionally, whenever you add food, make sure the environment is damp, but not soaking wet.
There’s no exact timing for feeding the worms. It mainly depends on the size of the worms and how many of them are there in the bin. Overall, you should at least add fresh food once a week.
Causes of Bad Smell in Nightcrawlers Worm Farms
One of the most common causes of foul-smelling farms is overfeeding. Typically, nightcrawler worm farms don’t smell very bad. However, if you add too much food, it’ll probably rot before the worms get to eat it.
Another reason for the bad smell is excess moisture. You need to make sure the soil isn’t soaking wet. In some cases, excess moisture can lead to mold growing inside the container.
These conditions can be harmful to your worms. It might even be the end of your farm. Therefore, when the container starts smelling bad, you need to act fast!
Nightcrawler Worm Farm Maintenance
Generally, a nightcrawler worm farm doesn’t require high maintenance. Here’s what you need to do to make sure your worms will grow healthy:
- Check the pH
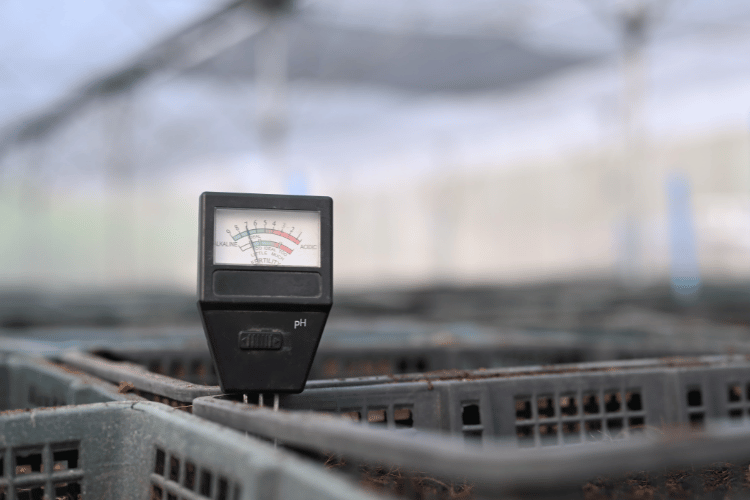
It’s essential to check the pH levels in the container at least once a week. The ideal pH for European nightcrawlers is 6 to 7.
- Check the Temperature
European nightcrawlers can tolerate temperature changes. However, to keep them healthy, make sure that the bin temperature is always between 55 and 78 °F.
- Check the Bedding
It’s best to turn the bedding once every three to four weeks. It’s also a good chance to check on your worms as you do this.
In addition, change some of the bedding once a month. However, make sure that the bedding doesn’t contain any worms when you remove it.
Is Starting a Nightcrawler Worm Farm Worth It?
Raising nightcrawler worms isn’t hard. The earthworms require minimal care, and they’re adaptable to changes.
Additionally, you can make a profit selling these earthworms. Nightcrawler farms sell hundreds of millions of these earthworms every year. On top of that, starting a commercial nightcrawler business doesn’t require a lot of money.
Nightcrawler Worm Farm Essential Tips
If you’re starting your first worm farm, here are some essential tips you need to know:
- Handle the worms with care, and don’t stretch or squeeze them.
- Avoid sudden or extreme temperature changes.
- Check pH and temperature levels regularly.
- If you spot sick or dead nightcrawlers, remove them immediately.
- Avoid mixing new crawlers with old ones.
Frequently Asked Questions
- How much do nightcrawlers eat per day?
The amount of food a nightcrawler eats per day depends mainly on its size. Some worms can consume up to ½ times their body weight per day.
- How to know if the worm farm is failing?
Some signs can indicate that your farm isn’t doing well. The main sign is that you’ll notice the worms aren’t moving as much as they used to. You might also spot sloughing skin or loose structure.
- Are nightcrawlers suitable for beginners?
Yes! Nightcrawlers are easy to raise, as they require minimal care. It’s easy for anyone to start a nightcrawler worm farm.
- Are nightcrawler worms good for composting?
When it comes to composting, nightcrawlers can be incredibly helpful. That’s because they break down organic matter and turn it into nutrients.
Moreover, they increase soil aeration by creating tunnels. They also spread beneficial bacteria as they move throughout the soil.
Wrapping Up
So, how to start a nightcrawler worm farm?
First, you need to get suitable containers. Ideally, they should be dark-colored and at least 2 ft by 3 ft. In addition, the containers should be around 10 inches deep.
Second, prepare the bin by drilling small holes in it to allow oxygen and moisture to enter. Then, add the bedding and soil to the container.
After that, add your worms and let them adapt to their new home. After three days, you can feed your worms. Make sure to check the pH and temperature in the bin at least once a week.