
Just because worms are cold-blooded doesn’t mean worm composting in winter is impossible. In fact, there are a few ways to go, and none of them is inherently wrong.
In this post, we’ll go over the different approaches to managing a worm farm despite the cold, from simply letting it sit outdoors to warming up the bin artificially.
What to Do With a Worm Farm During the Winter?
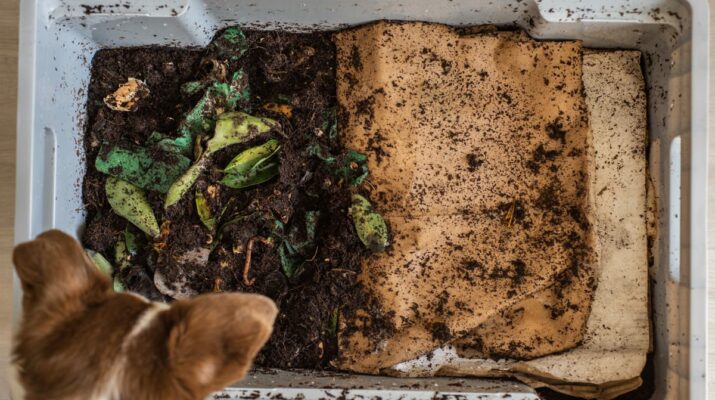
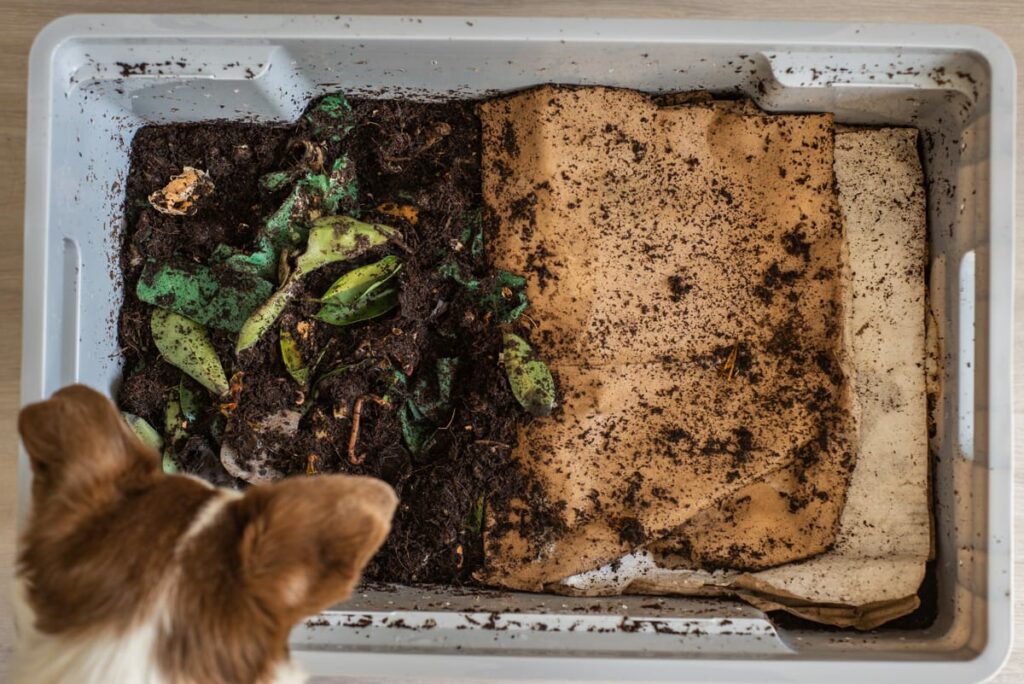
Let’s just start by saying that you can leave a worm farm or bin outside in the winter with minimal intervention.
In the wild, some earthworms burrow deep into the soil and coat themselves with mucus. Then, the little wrigglers slow down their metabolism and enter a state of dormancy.
The catch here is that not every species will be able to make it through the winter.
For instance, the Red Wigglers need an ecosystem around 55–77°F. In extreme conditions, they’ll freeze and die.
It sounds rough, but it doesn’t necessarily mean the end of your worm farm.
Before dying, the adult worms reproduce and lay eggs. Unlike their cold-intolerant parents, these egg cocoons can easily make it through the winter and hatch once the weather gets warmer.
So, even if you do nothing, you’ll have enough viable eggs to get the farm up and running again in the spring. However, in this case, it would be better to keep the lid closed (and the farm inactive) to avoid exposing the eggs to cold drafts.
Of course, it’s possible to keep an active worm bin in winter months, but it’ll take some effort on your part.
How to Keep a Worm Farm Warm in the Winter
If you’d rather not lose a good chunk of your worm population to the cold, you’ll have to warm up the ecosystem yourself.
Here’s how:
1. Insulate Inside and Out
To trap heat inside the worm bin, consider adding more bedding. Straw, hay, or ripped cardboard under the worm blanket will do the trick.
Aside from increasing the bedding, you want to tackle the insulation aspect from the outside as well.
The simplest way is to throw a blanket over the wormery. Just make sure that there are ventilation openings.
On the other hand, some worm farm owners go all in and set up DIY enclosures around the bins.
It doesn’t have to be fancy, either. A polystyrene box around the main wormery is enough, thanks to the air bubbles trapped inside its matrix that keep the heat locked in.
The best part about the enclosure method is that it leaves you with 2–3 inches of space between the bin and the outer covering. To get an extra insulation boost, fill this area with mulch.
If you want something in between the two approaches, try partially burying the worm bin in the soil.
2. Use the Sunlight to Your Advantage
Odds are, you started the farm around spring or summer and were told to keep it away from direct sunlight. Maybe you even went the extra mile and used a canopy over the bins.
Well, now would be a good time to give the bins some sun time. For best results, look for a south-facing spot.
However, it’s crucial to note that this won’t work for all setups.
After all, the fabric on some worm bags needs protection from sunlight. So make sure to double-check the manufacturer’s recommendations for all the frames and bags in your farm.
3. Relocate the Wormery Indoors
You won’t always be able to keep your worm farm in a spot that receives plenty of sunlight. In this case, relocating to any sheltered location is the way to go.
Garages, laundry rooms, closets, and basements are all valid options, especially if they’re heated. We know you might find the idea of keeping a worm farm indoors icky, but we promise it won’t stink if you do it right!
Plus, you’ll be able to use the surroundings to your advantage. For instance, you can put the bins next to a water heater.
If you don’t want to set up an indoor wormery because of space restrictions, at least consider moving the farm to a shed or a porch. There, the worms will get some protection from the wind and rain.
4. Consider Using Heating Gadgets
Some people like taking things to the next level by using heating pads or rods made for reptile cages. Models made for transplanting and germinating plants work just fine, too.
However, there are a few concerns that could deter a worm farm owner from the idea, including:
- The setup is often a fire hazard, and you’ll have to pick waterproof models only.
- Not all worm bins can easily accommodate a cable with the lid closed.
- The added costs of running an electric pad can be counterintuitive for a worm composting setup.
If the drawbacks don’t sound too bad for your wormery, then go for it!
Just don’t cover the whole bin with the heating pad. Ideally, you’ll want to give the worms a cool space to go if the one spot gets too hot or too suffocating.
It’s also worth mentioning that using a bottle of warm water can help you avoid the drawbacks of heating pads, but it’s not a common method. That’s probably because it’s a bit of a hassle to maintain versus plugging in a pad and calling it a day.
5. Keep the Worms Fed (But Not Excessively)
Remember how we mentioned that worms go dormant at low temperatures? Well, that affects their digestion, too.
That’s why you’ll need to decrease the feeding frequency significantly.
Otherwise, you risk creating stinky (and dangerous) aerobic conditions in your worm farm as the uneaten food rots. Plus, managing the fruit flies will be a nightmare!
It’s hard to give you an exact scrap-to-worm weight ratio, but Oregon State University estimates that the feeding rate drops by half between summer and winter. So, that’s a good place to start.
To stay on the safe side, don’t add any more food until the worms finish the last meal.
6. Don’t Hesitate to Bulk It Up
Since maintaining a worm farm in winter months usually requires moving the whole setup indoors, some people prefer smaller, temporary bins.
Now, that can be convenient, but it’s not the best way to go if we’re talking about thermal mass.
Without digging into the dry science of it all, the concept here is that a large, full bin has a better shot at fighting off temperature fluctuations. So, fill up your wormery for the winter!
Key Takeaways
To manage your worm farm in the winter, you can follow any of the following approaches:
- Do nothing, let the adult worm die, and wait for the eggs to hatch in the spring.
- Insulate the bins and reduce the feeding rate.
- Move the whole worm farm to a heated spot indoors.
That said, it’s also possible to do a mix of approaches no. 2 and 3. So, feel free to test things out and see which works best for your farm.
Either way, we’d recommend getting a reliable thermometer. It’ll help you see when the ecosystem is getting dangerously cold for your little wrigglers so you can act quickly.