
Worm composting is a rewarding endeavor for every household owner. It’s an efficient way to recycle kitchen and garden scraps into nutrient-rich compost and fertilizer.
However, there are challenges to this recycling method as well. Getting right on the first try can be tricky if you don’t know the crucial components of worm composting, such as their bedding.
So, we’re here to help you decide on the best homemade worm bedding materials. Let’s keep those hardworking worms healthy and happy, shall we?
What Is Worm Bedding and Why Is It Important?
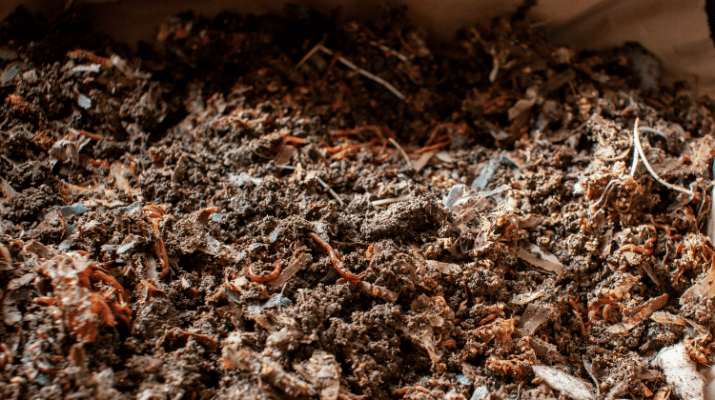
A worm bed, or a worm bin, is a worm-friendly environment where these slithery creatures can thrive best. It’s typically made up of organic materials that can effortlessly decompose.
The primary purpose of worm bedding is to provide your worms with food and home. So, choosing a suitable bedding material can heavily influence the success of your vermicomposting.
Using the wrong bedding means fewer worm castings for your garden. It can even affect the health of your worms or even kill them.
It’s crucial to remember that the worms would spend all their lives in their bin, breaking down organic matter and reproducing, so you might as well offer them suitable housing.
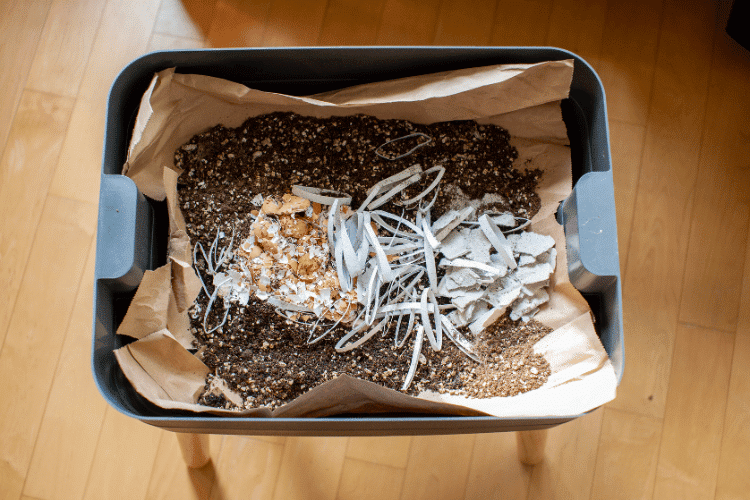
Best Homemade Worm Beddings
Is it your first time making homemade worm bedding? It might surprise you that many materials inside and outside your home can be used for your vermicompost.
Here are some of the best and cheapest DIY worm bedding options you can try:
1. Shredded Cardboard
Cardboards are one of the most viable options to consider as a bedding material. They’re easy to gather, and most households usually have a stash hidden away in their basements.
Corrugated cardboard and paper boards, the material used in your cereal box, are made from paper pulp. Pulps are mostly made from timber, wood chips, and wood shavings.
The organic components make them suitable for vermicompost beddings. These materials are an excellent carbon source, a key ingredient for healthy worms.
However, cardboards need a small amount of prepping for decomposition. Here are the steps to use cardboard as your worm bedding:
- Remove stickers, tapes, or plastics from the cardboard.
- Once clean, soak the cardboard in water until it softens.
- Shred the cardboard into small pieces using scissors or by hand.
Cardboard is a good choice as its lightweight composition allows more air pockets. It will help aerate your bin, maintaining moisture and temperature.
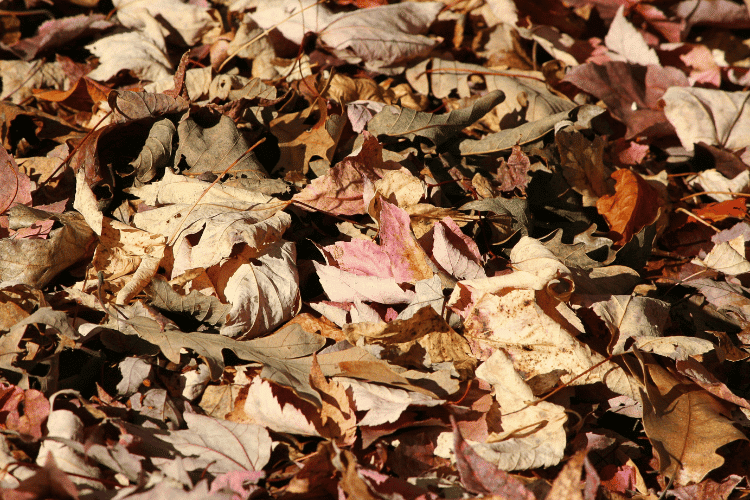
2. Fallen Leaves
If we’re talking about organic materials, leaves are one of the most popular choices. They’re organic, easy to collect, and need less effort than cardboard to prepare.
Fallen leaves are rich in carbon, an essential requirement for worm bedding. They decompose quickly, so your worms shouldn’t have issues breaking them up.
Still, it helps when you shred and moist the leaves before adding them to your compost.
Leaves make excellent insulation and food material for the winter season. Mix them in your worm bedding and pile them over the compost to keep the worms snug even in the cold.
Here are some steps to use leaves as a worm bedding material:
- Collect an appropriate amount of fallen, dry leaves for your compost.
- Crush or shred the leaves for quicker decomposition.
- Apply water to the crushed leaves to soften them.
- Mix the materials with your worm bin’s soil.
One disadvantage of using leaves is that they won’t be around the whole year. So, stash a few bags of dried leaves you can use throughout the year.
3. Animal Manure
Animal dropping is another excellent food source for compost worms. A wide range of animal manure options is available, depending on what you can procure.
Most people would prefer cow manure for its high carbon and low nitrogen content. But you can also use horse, hog, or sheep manure with similar effectiveness.
One advantage of animal manure is that it’s already partially decomposed. So you won’t have to shred them as leaves or cardboard.
Compost worms will have an easier time breaking down the soft material. And, while they came from a different stomach, animal droppings still contain a veritable amount of nutrition.
Here are some tips for using animal manure for your vermicompost:
- Don’t use fresh manure.
- Pre-compost the droppings before adding them to your vermicompost.
- Don’t add too much manure to maintain the carbon-to-nitrogen ratio.
It’s worth noting that deworming chemicals from droppings can kill worms. As such, verify that the manure didn’t come from a dewormed animal.
4. Newspaper
Do you have stacks of newspaper stacked in your home without use? Why not convert them into worm bedding for your vermicompost housing?
Papers, like cardboard, are typically made from wood pulp. So, they’re a fantastic alternative to provide air, moisture, and food for the compost worms.
Follow these steps to use newspapers as worm bedding:
- Cut newspapers into small pieces.
- Place the strips of newspaper into a container and add water.
- You’d want paper bedding that feels like a damp sponge but not dripping.
- Mix the strips in the bin, ensuring no clumping to provide enough air for the worms.
Avoid using paper with colored print, such as magazines, glossy receipts, and wax-coated materials. These types of paper may contain elements that can harm your worms.
5. Straw and Hay
If you’re experiencing aeration issues with your worm bins, try adding straw or hay to the bedding. The structure of hay and straw allows better air circulation in the soil.
What’s more, they contain incredible amounts of carbon. Plus, they’re easy to procure.
According to the USDA, materials like wheat straw have an 80:1 carbon-to-nitrogen ratio. This hearty amount can help the worms create quality compost and fertilizer.
Here are the steps to use straw and hay for your worm bedding:
- Like most bedding materials, shred the straw or hay for the best results.
- You can use your lawn mower to break the straw or hay into smaller pieces.
- Use a sharp garden tool or scissors if a lawn mower isn’t available.
- Add an appropriate amount of hay or straw clippings to your compost.
Hay and straw work well with animal manure, so you can try mixing them. The droppings will help hold moisture while the hay ensures airflow.
6. Wood Shavings
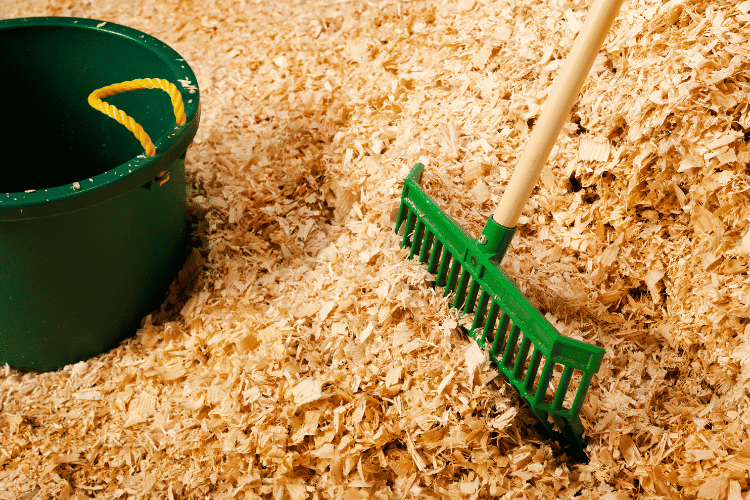
As a natural component, wood shavings benefit vermicompost worms. And they can significantly improve compost bins with low carbon levels.
The benefit of working with wood shavings is that they’re cheap to procure. Or free if you have excess firewood or lumber around your house.
Here are some things to remember when using wood shavings for your vermicompost:
- Avoid wood chippings, as they typically have sharp edges that can harm your worms.
- Ensure to use wood shavings from lumbers with no pesticides applied.
- Worms prefer wood shavings that are aged and broken down.
- Use fresh shavings sparely, as they tend to absorb moisture quickly.
Finally, Planet Natural reported these compost materials to have a 400:1 carbon-to-nitrogen ratio. So, you need to balance it by adding greens (weeds, alfalfa, etc.) to the compost.
Wood shavings are feasible when building a first-time compost bin. However, it’s best to mix it with other materials, such as paper, leaves, coconut coir, or dirt.
7. Coconut Coir
Coconut isn’t called the Tree of Life for nothing. Every part, from the leaves to the roots, has practical purposes if you know how to use them.
Coir is the processed fiber material left behind when you take a coconut fruit’s meat and milk.
The advantage of using coconut coir for your vermicompost is its neutral pH level. So, you won’t worry about soil acidity when using coir for your worm bedding.
Coconut coir improves drainage and moisture retention for quick-drying soils. It breaks down slowly, helping create air pockets in your bedding.
You don’t even need to prepare the coir. Add the shaved coir to your bin, and it’s good to go!
However, it’s worth pointing out that coir doesn’t have much nutritional value for your compost worms. But you can amend this hitch by mixing it with kitchen scraps.
8. Grass Clippings
Do you regularly cut your lawn grasses and don’t know what to do with the clippings? Mix them into your worm bedding and watch these slithery creatures crawl happily.
Using grass clippings is advantageous because it’s free, and most households have an abundance of grass in their yard.
Tips when using grass clippings as worm bedding:
- Avoid using grass clippings treated with chemicals and pesticides.
- Use grass clippings sparsely as they contain high levels of nitrogen.
Finally, you can allow the grass clipping to dry to reduce the nitrogen content. Dry them brown to increase their carbon content.
Qualities of Good Worm Beddings
As adaptive as they are, worms are still vulnerable creatures. They are sensitive to light, water, and temperature, so you need to watch a number of elements when making their bedding.
Moisture
One factor to remember when making worm bedding is how these creatures function.
For instance, worms breathe through their skin, so they need a damp environment to thrive. You’d want a bedding material that can hold moisture and not dry instantly.
An ideal moisture level is around 60% to 80%. To put this into perspective, your bedding should feel like a damp sponge, wet but not enough water to pool or drip.
Carbon and Nitrogen
The bedding’s carbon and nitrogen levels are also a must-watch aspect. You should keep your bedding’s carbon-to-nitrogen ratio to at least 25:1 to maintain your worm’s health.
The amount of nitrogen or carbon depends on what you feed your worms. Brown materials, like wood chips or cardboard, contain high amounts of carbon, while green materials, including manures and weeds, have large amounts of nitrogen.
An easy trick to determine carbon and nitrogen levels is to look at the moisture. A worm bin that appears wet means too much nitrogen, so you need to rebalance using carbon-rich food.
pH Level
The acidity of the soil is another important determinant of a successful compost. Your bedding’s pH level should always be neutral to ensure your worm’s health.
Most earthworms can tolerate pH levels of 5 and 8. However, you’d want bedding with a pH level of 6.5 for optimal worm health.
Fortunately, altering a worm bin’s high pH level is easy. Simply add a tablespoon of grit to your bedding to correct its acidity.
The grit particles will also come in handy for your slithery friends. As they don’t have teeth, they’d swallow the grit to help grind the food in their stomachs, much like birds do with stones.
Air Flow
Here’s some fun trivia: worms need oxygen just like us. And while they don’t have lungs, they have unique skin to absorb oxygen around them.
For this reason, your bin should provide enough airflow for these creatures to breathe and survive. An aerated soil allows them to move freely, which is crucial for survival.
You can also add holes around your worm housing to keep the air flowing. These openings will let warm air rise and cool air inside the bin, creating a consistent airflow.
Avoid using soil materials that easily clump, as these can lessen the fluffiness of the bedding. Compact soil obstructs airflow and causes the smell to build.
Temperature Level
Worms can survive in a wide range of conditions. However, they typically prefer temperatures between 55 to 77 Fahrenheit or 13 to 25 degrees Celsius.
The best spot to place your worm bin is anywhere under constant shade. Never put your bins under direct sunlight or in open areas where rain can hit the bedding directly.
That said, keeping the airflow of your worm bedding should maintain the optimal temperature. Worm bins with lids are also preferable for outdoor worm vermicompost.
Final Thoughts
Your worm bedding is an essential part of vermicomposting. Ultimately, it can affect the worms’ health and the quality of castings they produce.
If you’re just starting, the safest option is to use not one but a variety of bedding materials listed above. This way, you can increase your odds of success in your vermicomposting project.
Remember, good bedding means happy and productive worms!